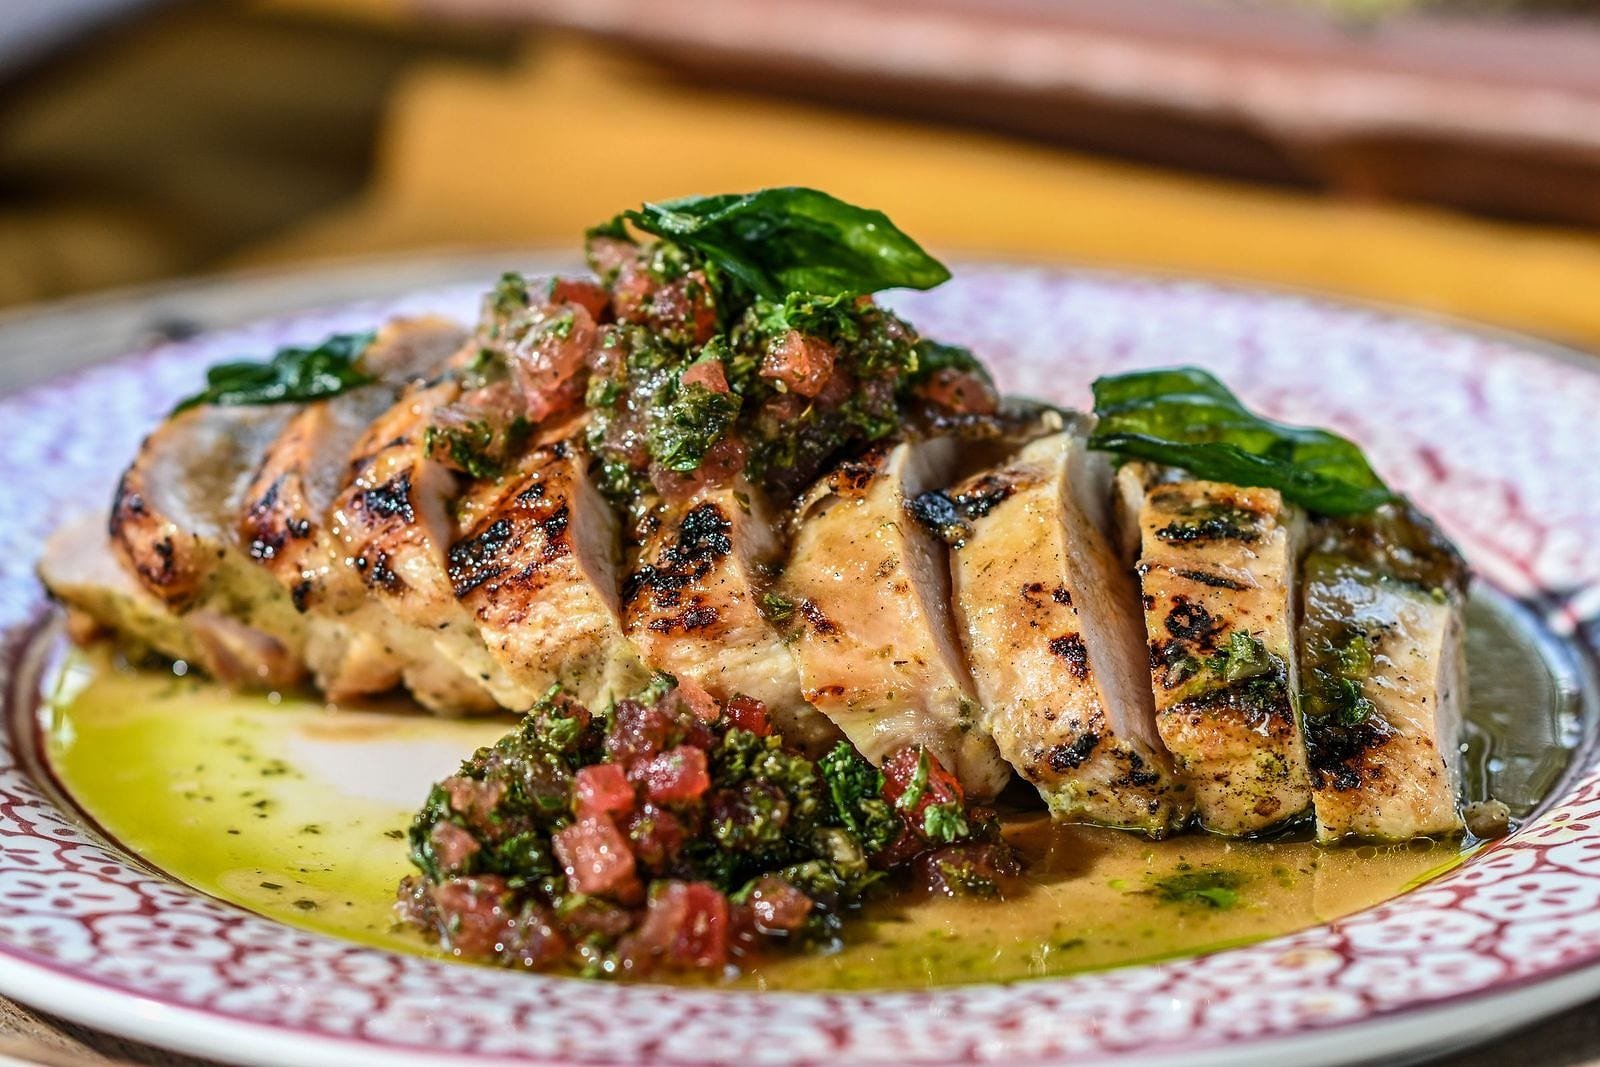
This chicken recipes breast method is my go-to for busy weeknights when I need dinner on the table fast. It delivers tender, juicy meat without the risk of dryness that plagues many home cooks. The technique combines a quick sear with a brief oven finish to ensure even cooking from edge to center. You will only need a few fresh herbs, lemon, and a standard boneless breast. The result is a flavorful, protein-rich main course that pairs perfectly with roasted vegetables or grains. It is one of the simplest ways to elevate a basic ingredient into a satisfying meal.
Why You'll Love This Chicken Breast
This method solves the biggest problem with home-cooked chicken: uneven cooking. By pounding the breasts to a uniform thickness, you ensure that the edges do not dry out while the center catches up. The two-stage cooking process—searing on the stovetop for flavor and finishing in the oven for gentle heat—creates a perfect balance of texture and juiciness. It is incredibly forgiving, making it ideal for beginners or busy parents. The lemon and thyme sauce adds brightness without adding significant calories. You get a restaurant-quality result with minimal cleanup, as the sauce forms in the same pan used for searing. This dish is a staple in my rotation because it is reliable, fast, and always tastes fresh. It proves that simple ingredients can create a satisfying meal when technique is key.
Ingredient Notes & Substitutions
What you need
-
4 piecesboneless skinless chicken breasts, pounded to even 3/4-inch thickness
-
2 tbspolive oil, divided
-
1 tspsmoked paprika
-
1 tspgarlic powder
-
1/2 tspsea salt
-
1/4 tspblack pepper
-
2 clovesgarlic, minced
-
1/4 cupfresh lemon juice, about 1 lemon
-
1/4 cupchicken broth, low-sodium
-
2 tbspfresh thyme leaves, plus extra for garnish
-
1 tbspbutter, cold, cubed
-
1 tbspfresh parsley, chopped, for garnish
The quality of your chicken matters most. Buy boneless, skinless breasts that are fresh, not frozen, for the best texture. If you only have frozen chicken, thaw it in the refrigerator overnight. For the liquid, low-sodium chicken broth keeps the salt level controlled, but vegetable broth works for a vegetarian-leaning flavor profile. Fresh lemon juice is crucial for acidity; bottled juice often tastes flat and overly sweet, so use fresh if possible. Smoked paprika adds depth and color; if you prefer a milder flavor, swap it for regular sweet paprika. Fresh thyme provides an aromatic finish, but dried thyme can be used if you reduce the amount by half and add it during the sauce stage. Butter enriches the sauce; for a dairy-free option, use an extra tablespoon of olive oil. The garlic should be fresh and minced, not pre-minced, to ensure a pungent, aromatic kick.
How to Make Chicken Breast (Tips for Each Step)
Preheat your oven to 400°F (200°C). Place a large oven-safe skillet on the middle rack while it heats.
Place chicken breasts between two sheets of plastic wrap and pound gently with a meat mallet or rolling pin until they are an even 3/4-inch thickness.
In a small bowl, mix the smoked paprika, garlic powder, salt, and black pepper. Rub this spice blend evenly over both sides of the chicken.
Heat 1 tablespoon of olive oil in the preheated skillet over medium-high heat until shimmering. Add the chicken and cook for 3-4 minutes per side until deeply golden brown.
Add the minced garlic to the skillet and stir for 30 seconds until fragrant. Pour in the lemon juice and chicken broth, scraping up any browned bits from the bottom.
Transfer the skillet to the preheated oven. Bake for 12-15 minutes, or until the internal temperature reaches 165°F (74°C).
Remove from oven and immediately stir in the cold butter cubes and fresh thyme leaves until melted and emulsified into a glossy sauce.
Garnish with fresh parsley. Serve immediately with the pan sauce spooned over the chicken.
Tips for each step
Start by pounding the chicken. This is the most important step for even cooking. Use a meat mallet with a flat surface to gently flatten the thicker ends toward the thinner center. Do not tear the meat; press firmly. When searing, do not crowd the pan. If your skillet is too small, cook in batches to ensure proper browning. The oil should be hot before the chicken touches the surface to prevent sticking. When adding the garlic, keep the heat high for only 30 seconds to avoid burning it, which creates a bitter taste. As the broth and lemon juice simmer, scrape the bottom of the pan with a wooden spoon to release the fond, which is full of flavor. When transferring to the oven, be careful as the handle will be hot. Use oven mitts. Check the internal temperature with a meat thermometer inserted into the thickest part. It should read 165°F (74°C). Resting the chicken for two minutes after removal helps the juices redistribute.
What to Serve With Chicken Breast
This dish is versatile and pairs well with a variety of sides. For a low-carb option, serve it over a bed of arugula or spinach salad with a simple vinaigrette. Roasted vegetables like asparagus, broccoli, or zucchini complement the lemony flavor profile perfectly. If you prefer heartier sides, consider quinoa, farro, or wild rice. The pan sauce is excellent for spooning over mashed potatoes or cauliflower mash. You can also serve it on top of whole wheat couscous for a lighter meal. For a Mediterranean twist, pair it with tzatziki sauce and pita bread. Since the dish is naturally gluten-free, it fits well into various dietary plans. The bright flavors of the lemon and herbs make it a great match for citrus-based salads or roasted peppers. Let your choice of side dish dictate the style of the meal, whether you are aiming for a light lunch or a hearty dinner.
Storage, Freezing & Meal Prep
Leftovers keep well in the refrigerator for up to four days. Store the chicken and sauce separately if possible, as the sauce can make the meat soggy over time. If stored together, reheat gently in a skillet over low heat to maintain moisture. Freezing is also an option; place the chicken in a freezer-safe bag, removing as much air as possible. It will last up to three months in the freezer. Thaw overnight in the refrigerator before reheating. For meal prep, you can cook the chicken in advance and portion it into containers. Keep the sauce in a separate small jar. When ready to eat, warm the chicken and spoon the sauce over it. This dish is not ideal for making ahead more than a day in advance, as the texture may change. Always reheat until the internal temperature reaches 165°F (74°C) to ensure food safety. Avoid microwaving for too long, as this can make the chicken rubbery.
Tips for Success
The most common mistake is not pounding the chicken to an even thickness. If one end is much thicker than the other, the thin part will dry out before the thick part is cooked. Ensure your skillet is oven-safe before starting; not all skillets can go into a 400°F (200°C) oven. Check the manufacturer's guidelines. Do not skip the searing step; it builds the flavor base for the sauce. If the chicken sticks to the pan, the oil was not hot enough or the pan was too crowded. Let the chicken rest for at least two minutes after cooking. This allows the muscle fibers to relax and retain their juices. If the sauce is too thin, simmer it on the stovetop for a few extra minutes to reduce. Taste the sauce before serving and adjust the salt or lemon juice as needed. Fresh herbs are best for garnish, but dried herbs can be used in a pinch if you adjust the quantity.
Chicken Recipe Breast: 35-Minute Lemon Herb Pan
Discover this foolproof chicken recipes breast method. Tender, juicy, and ready in under 40 minutes with simple pantry staples.
Ingredients
Instructions
- 1Preheat your oven to 400°F (200°C). Place a large oven-safe skillet on the middle rack while it heats.
- 2Place chicken breasts between two sheets of plastic wrap and pound gently with a meat mallet or rolling pin until they are an even 3/4-inch thickness.
- 3In a small bowl, mix the smoked paprika, garlic powder, salt, and black pepper. Rub this spice blend evenly over both sides of the chicken.
- 4Heat 1 tablespoon of olive oil in the preheated skillet over medium-high heat until shimmering. Add the chicken and cook for 3-4 minutes per side until deeply golden brown.
- 5Add the minced garlic to the skillet and stir for 30 seconds until fragrant. Pour in the lemon juice and chicken broth, scraping up any browned bits from the bottom.
- 6Transfer the skillet to the preheated oven. Bake for 12-15 minutes, or until the internal temperature reaches 165°F (74°C).
- 7Remove from oven and immediately stir in the cold butter cubes and fresh thyme leaves until melted and emulsified into a glossy sauce.
- 8Garnish with fresh parsley. Serve immediately with the pan sauce spooned over the chicken.
- Ensure your skillet is oven-safe before starting the recipe.
- Pounding the chicken to an even thickness is crucial for uniform cooking.
- Use a meat thermometer to check for doneness at 165°F (74°C).
45g protein
3g carbs
12g fat
0.5g fiber
Storage: Refrigerate in an airtight container for up to 4 days. Freeze for up to 3 months. Reheat gently in a skillet or microwave until hot throughout.
More Recipes You'll Love
- Easy Chicken Recipe: 35-Minute Sheet Pan Dinner
- Chicken Casserole Recipe: Budget-Friendly Pantry Version
- Cozy Chicken Recipe With Rice
- Healthy Dinner Ideas: Lemon Herb Salmon
Frequently Asked Questions
Can I use frozen chicken breasts?
Yes, but you must thaw them completely in the refrigerator overnight before cooking. Cooking from frozen will result in uneven cooking and a tough texture.
What if I don't have smoked paprika?
You can substitute regular sweet paprika for a milder flavor, or use a mix of cumin and cayenne pepper for a different spice profile.
How do I prevent the chicken from sticking?
Make sure the oil is hot and shimmering before adding the chicken. Do not move the chicken for the first few minutes to allow a crust to form.
Is this recipe gluten-free?
Yes, this recipe is naturally gluten-free. Just ensure any broth or seasoning blends you use are certified gluten-free.
Leave a Reply